Settings UI and the Network flyout is completely different from Windows 7 and Windows 8.1. The options have been moved around and it is not clear how to change the network type – private or public. I would like to share how you can change the network location type in Windows 10.
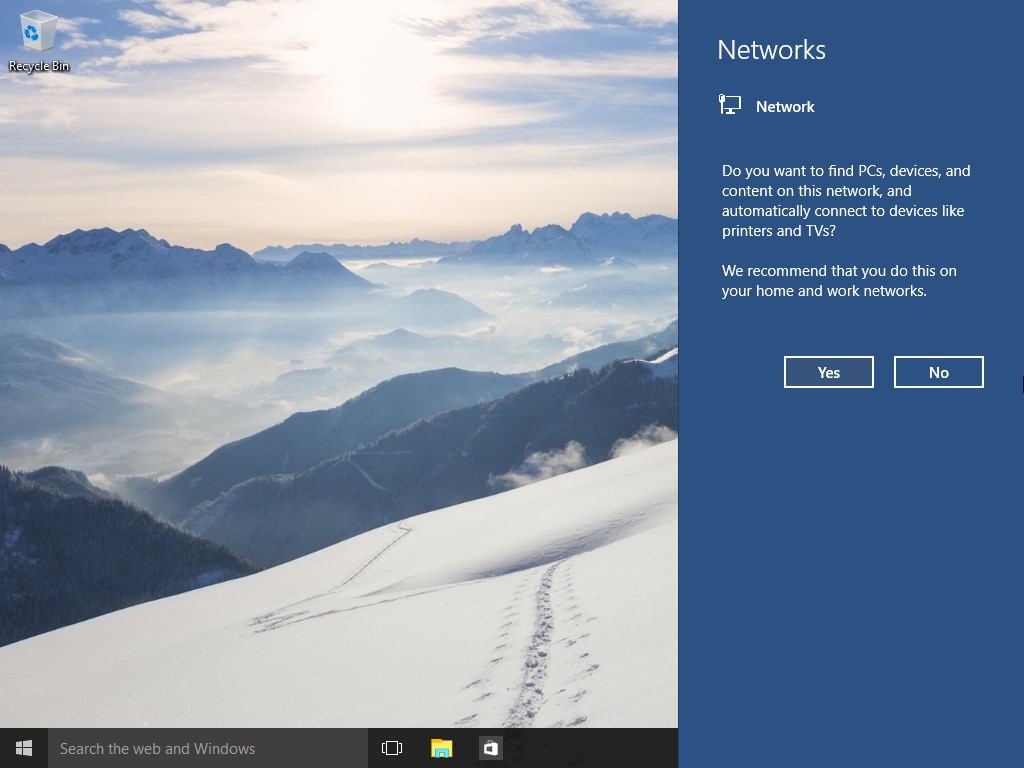
When you are signing in to your account for the very first time, Windows 10 asks you which kind of network you are connecting to: Home or Public.
If you pick Yes, the OS will configure it as a private network and turn on network discovery. For a Public network, discovery and access will be limited. If you need to access your computer from a remote PC or browse the PCs and devices on your local network, you need to set it to Home (Private).
If you decide later to change the access type of the network you are connected to, you might even not find which settings to change!
There are two ways to change the network type in Windows 10.
Method one. Change network access type via the Settings app
- Open the Settings app.
- Click the Network and Internet icon.
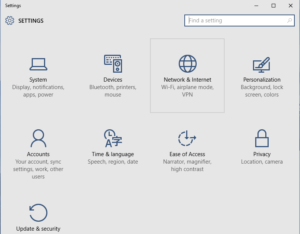
- Depending on the way you are connected to your network, you need to click the appropriate subcategory on the left. If you are using a wired connection, click on Ethernet. If you are using some wireless connection, click on Wi-Fi.
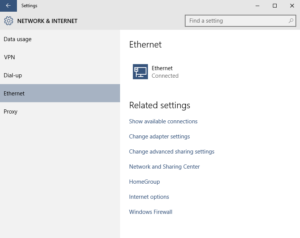
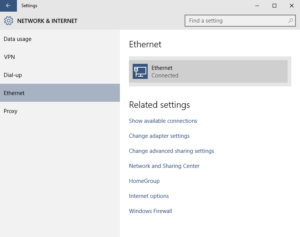
- Click on the connection name on the right. In my case, it is named just “Ethernet”
- On the next page, turn on the switch Find devices and content to make this connection Private. If you turn off this switch, this will make your network Public.
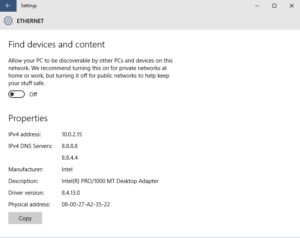
That’s it. This is pretty easy, isn’t it? This is all you need to know in the Settings app to change the network location type.
Method two. Change network access type by Registry editing
You can change the network profile in Windows 10 using a Registry tweak. After you follow the steps described below, you can easily switch your network location type from Public to Private and vice versa.
- Open Registry Editor.
- Go to the following Registry key:
HKEY_LOCAL_MACHINE\SOFTWARE\Microsoft\Windows NT\CurrentVersion\NetworkList\Profiles
- You will see one or several GUIDs there, each of them represent a network you are connected to. See the following image to understand how it works:
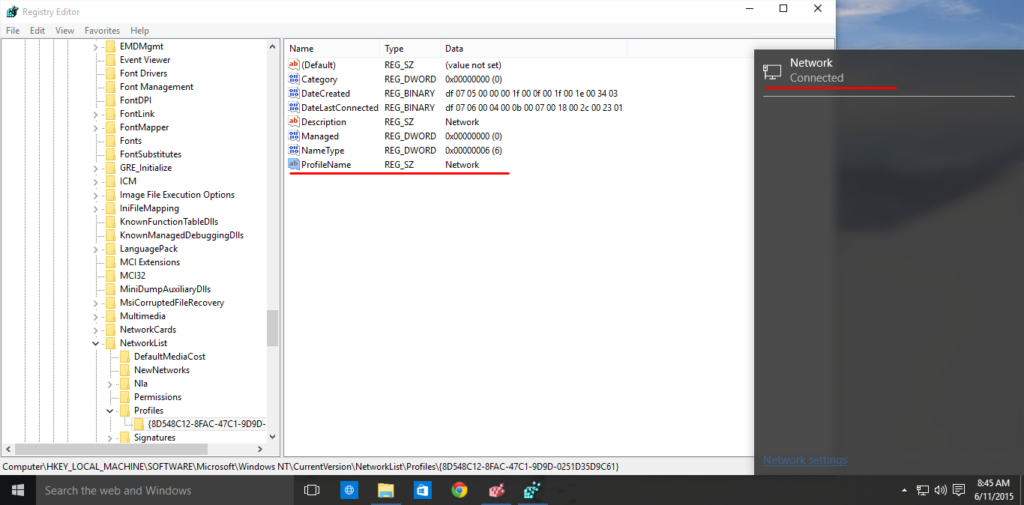
- Go to the GUID subkey which matches your current network connection.
- Create a new DWORD value there, named Category. You might already have such a value, so you will only need to modify it.
- Set the Category parameter to one of the following values:
0 – means your network is public.
1 – means your network is private. - Create a new DWORD value named CategoryType if it does not exist and set its value to 0:
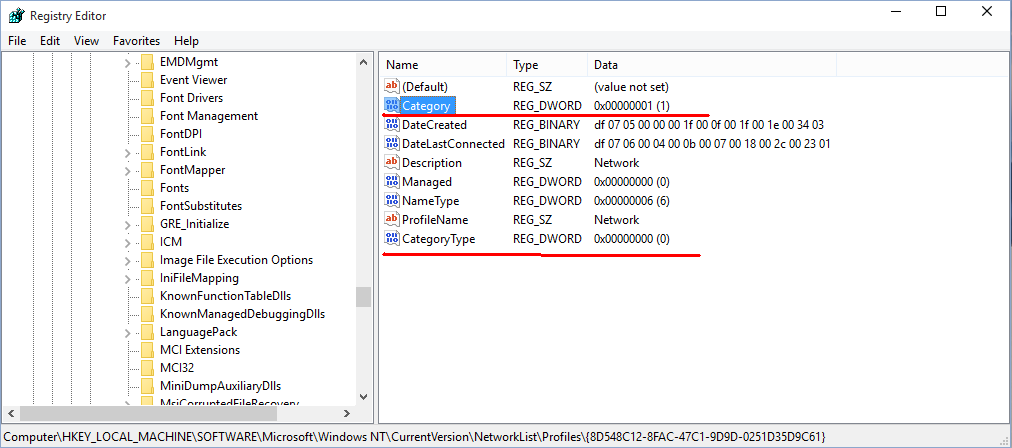
- Restart your PC.
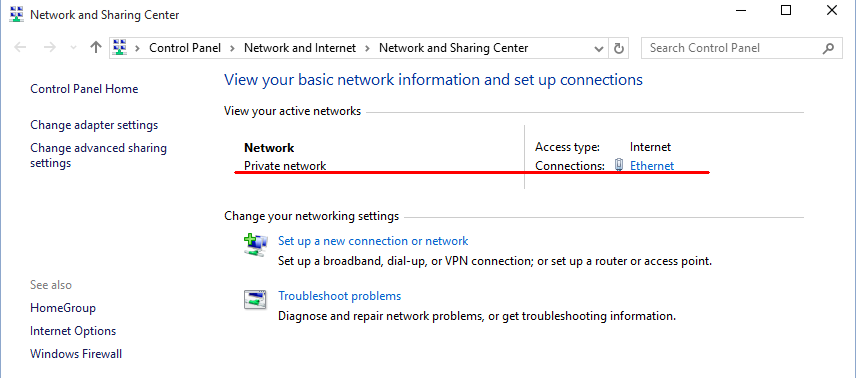
After the reboot, open the Network and Sharing Center and check out the state of your network. It should reflect the changes you made. For example, I set my Network to Private using the following values:
Category = 1
CategoryType = 0.
