Disable windows driverupdates and driversearching

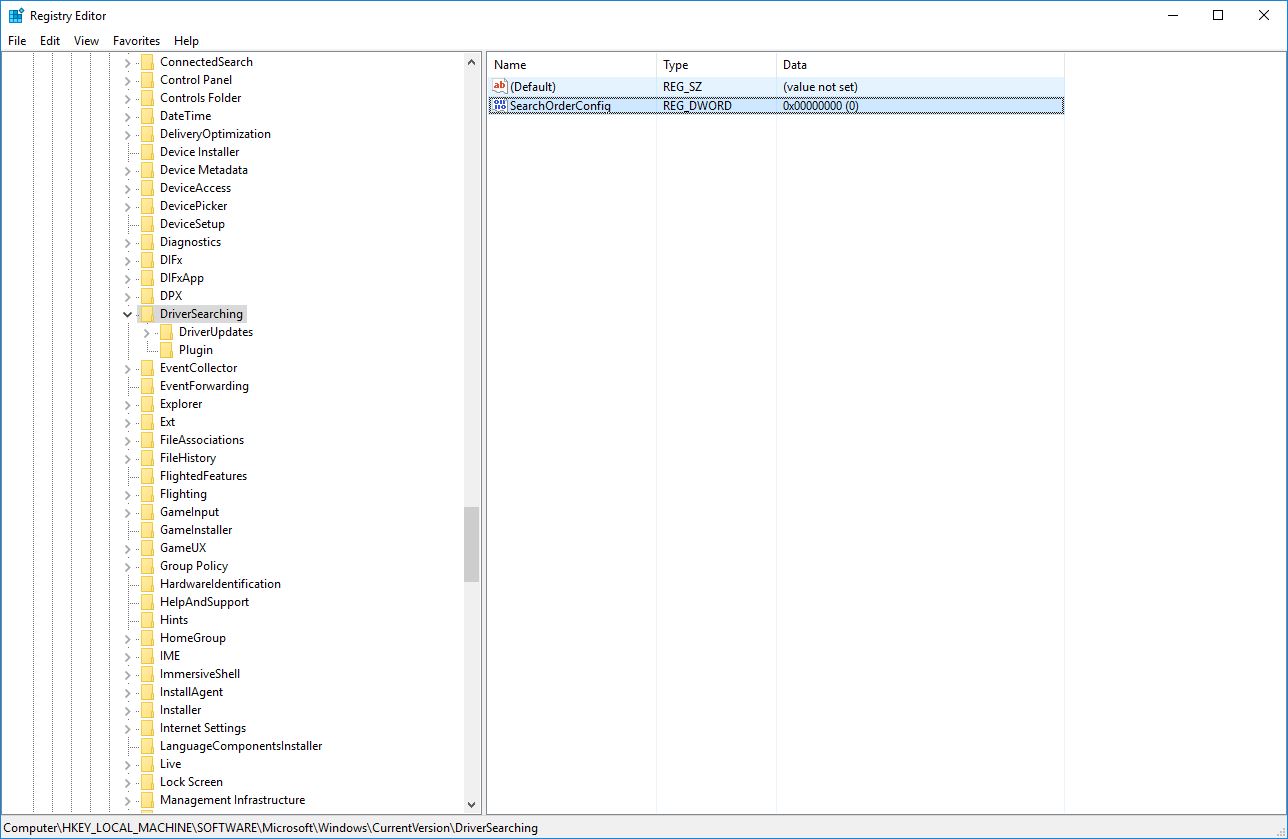
Open registry editor and change this dword value from 1 to 0 like the image below. [HKEY_LOCAL_MACHINE\SOFTWARE\Microsoft\Windows\CurrentVersion\DriverSearching]
“SearchOrderConfig”=dword:00000000

and then you can do this, just to be sure… ??

Click Start, right-click Computer, and then click Properties. (Windows 7)
Click on Start, search for “View advanced system settings”. (Windows 10)
On the System Properties dialog box, click the Hardware tab, and then click Device installation settings.
Select No.


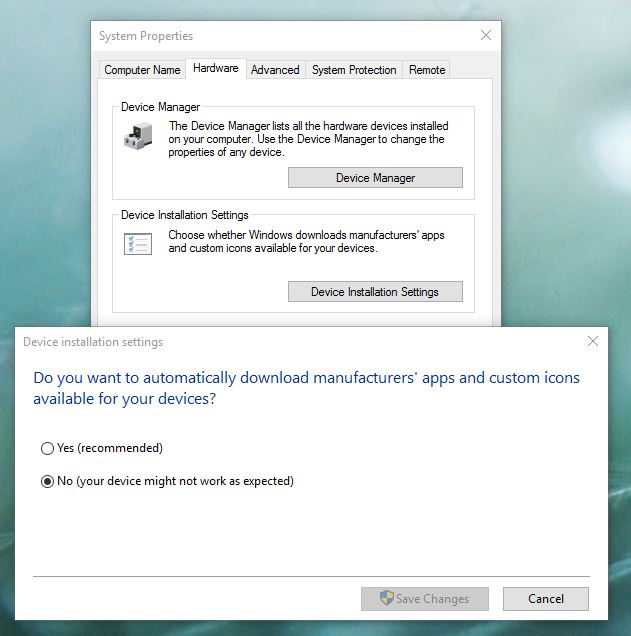
And then Save Changes.

and then this…

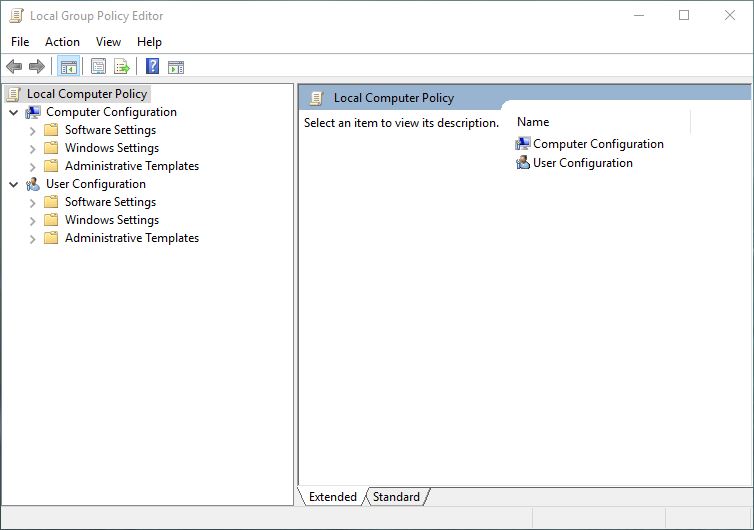
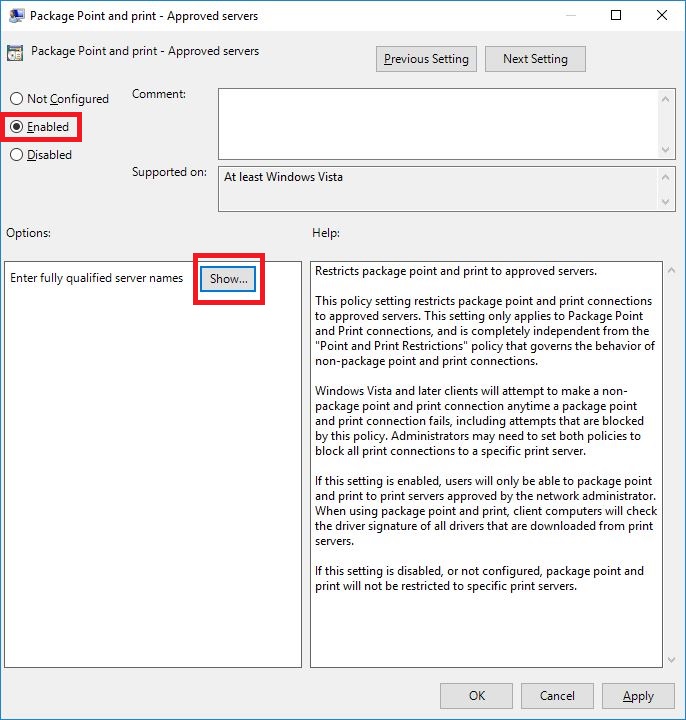
Open Group Policy Management Editor(gpedit.msc).
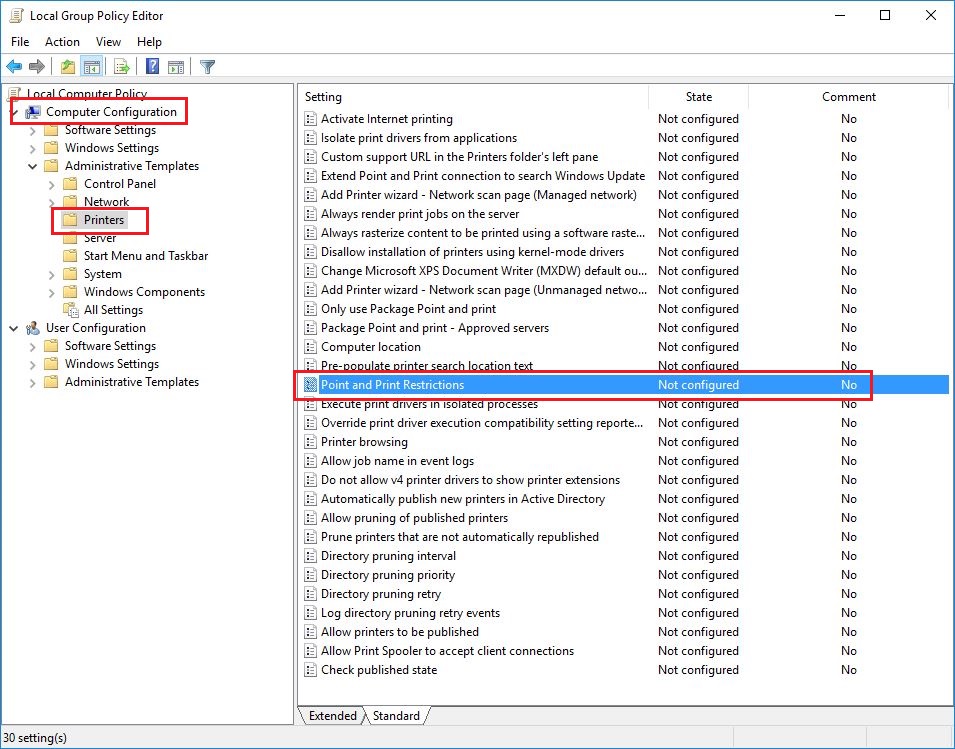
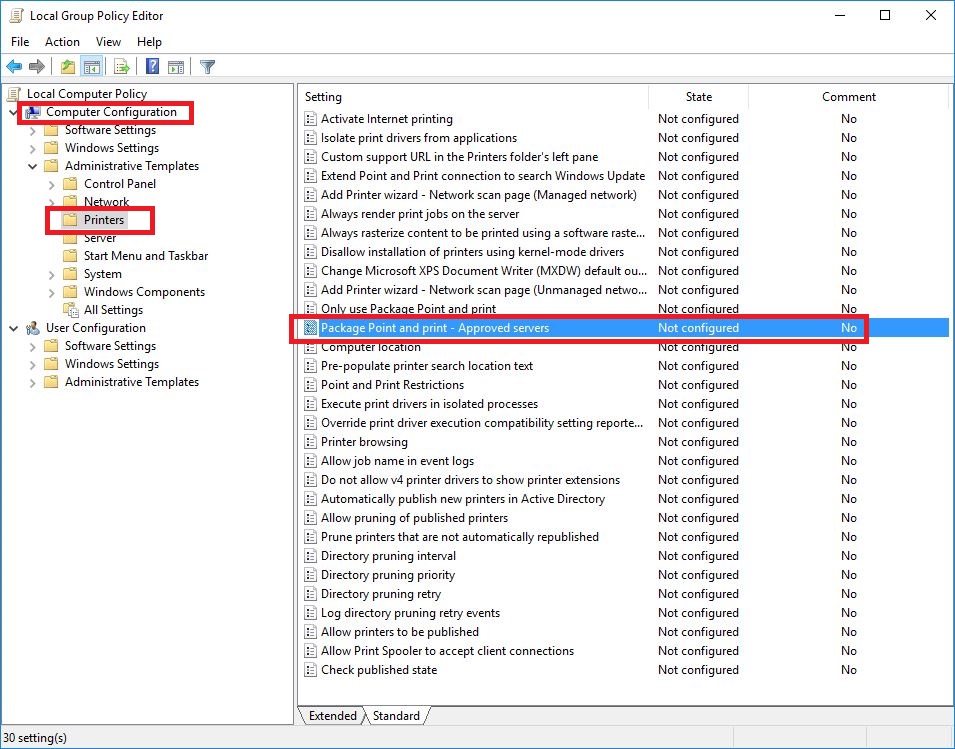
In the navigation pane, go to Computer Configuration\Administrative Templates\System\Internet Communication Management\Internet Communication settings.
In the details pane, double-click Turn off Windows Update device driver searching.
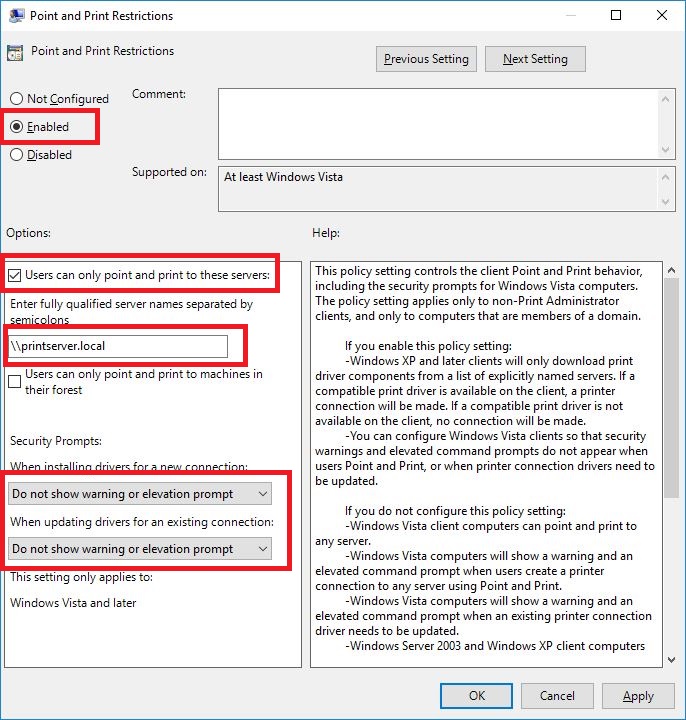
To turn off searching Windows Update, click Enabled.


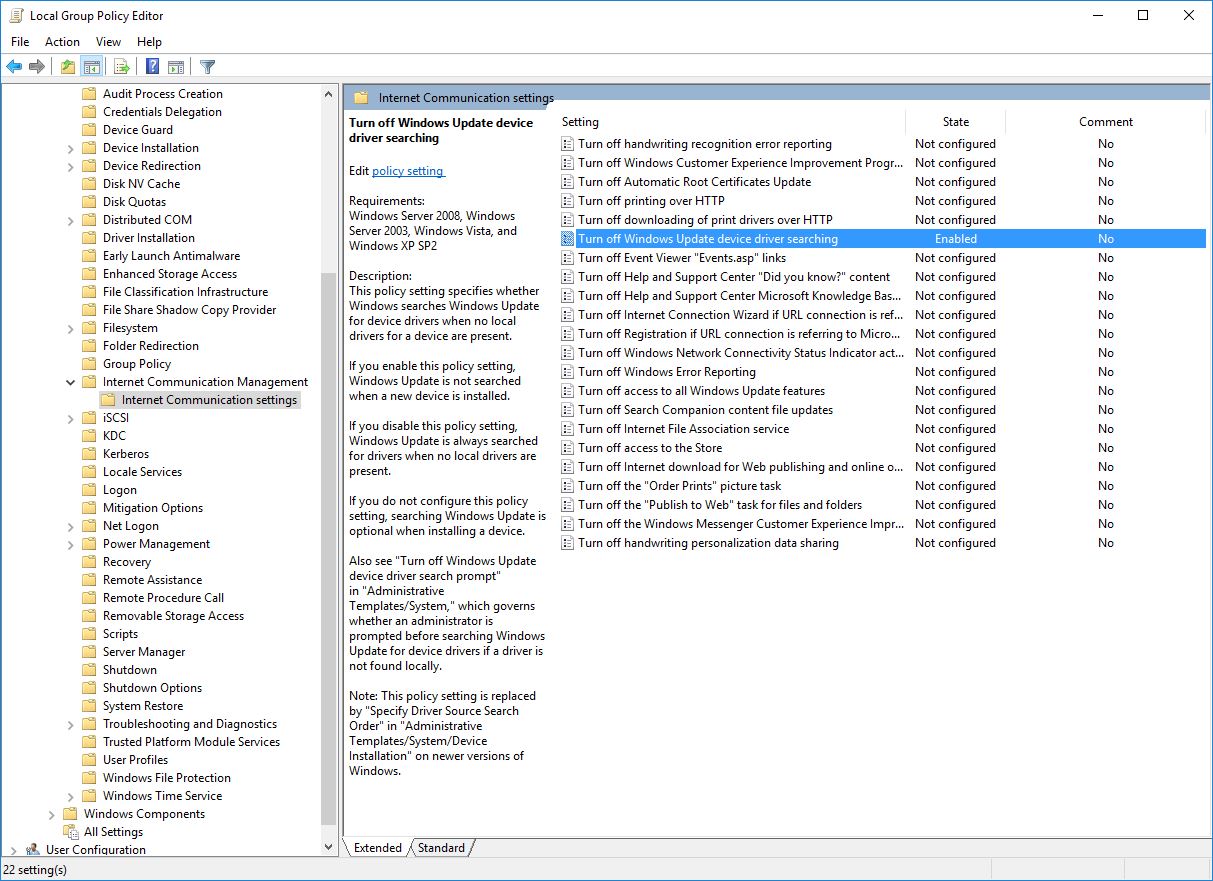
Click OK to save your settings.

PackageAware drivers for your printer are missing and you need a workaround!

This issue occurred when you install the Security update for Windows “Security Update for Windows Print Spooler Components” (3170005).

Download the correct KB for your Windows version in the links below:
Windows 10 1607 supportive technique information 3194798
Windows 7 and Windows Server 2008 R2 supportive technique information 3192403
Windows Server 2012 supportive technique information 3192406

Best practice is to use “PackageAware” drivers for your printers!
Take note that you should not do this workaround because you are lazy and don’t download a new printer driver that is “PackageAware” approved. ??
You find similiar lines inside your *.inf files if your driver is PackageAware approved.
[PrinterPackageInstallation.amd64]
PackageAware=TRUE

Configuring Group Policy to add print servers to allowed list.
Right-click on [START-menu], click [RUN] and type gpedit.msc and then click [OK].

Go to [Printers] and double-click on [Point and Point Restriction]

Set to [Enabled], and then configure these steps below that works for you. Then [Apply] and [OK].

Now in the same [Printers] policy folder double-click on [Package point and print – Approved servers].

Set to [Enabled] and then click on [Show].

Enter your “Fully Qualified Server Name” and then click [OK]. Click [Apply] and [OK] on the [Package Point and print] page.

DONE!

If you are not in a domain just restart your client and control that your setting has taken effect.
If you use a domain then push the policys and control your settings has taken effect.